Welcome back to Part 2 of “A Compost Blog Post: How to Compost in All Spaces on All Budgets! Learn how to turn your household and landscape waste into organic fertilizer with four more composting methods.
In Part 1 of this 2-part blog post, I covered four different methods of composting that any environmental steward can implement: the traditional tumbler, open pile, cold composting, and the 5-Gallon Bucket (Bokashi Method). In this section, Part 2, I will cover four more methods, for a total of 8 methods to choose from. Before we discuss the methods of composting, we need to briefly re-cover several important facts about the basics of composting:
To Make the Most of Your Compost - The Basics:
- DO COMPOST: Compost may only contain what is known as greens & browns. Greens are nitrogen-rich materials, such as: kitchen scraps, grass clippings, coffee grounds (filter may be included), egg shells, hair/fur, nail clippings, horse/cow manure, and green yard waste (fallen fresh leaves/coniferous needles). Browns are carbon-rich materials, such as: cardboard, newspaper, sawdust, dried leaves/coniferous needles, hay/straw, branches/sticks/twigs, corn stalks, fireplace ashes (no coals), dried flowers, nut shells, and dryer lint. Add equal amounts of browns and greens to compost; however, it is okay if there are sometimes more of one than the other.
- DO NOT COMPOST: meat, dairy, breads, plants treated with chemicals, invasive species, glossy paper, stickers, or tape/staples.
- LIMIT COMPOSTING: citrus and onions.
- A compost heap has a great balance of greens (nitrogen) and browns (carbon) if it generates heat. Heat may take several weeks to generate in a compost pile. The heat is noticeable because it will feel and smell hot. If the temperature of the heat drops, add more greens (nitrogen) and turn the heap more often.
- For faster decomposition of materials, turn the compost several times once a week to maintain air flow. Also, keep compost damp (comparable to a wrung out sponge/dish rag) to avoid drying out (the microorganisms & earth worms love moist conditions!).
Now that the basics are covered, let’s nourish the seed of composting methodology with four more composting methods.
Methods of Composting Continued:
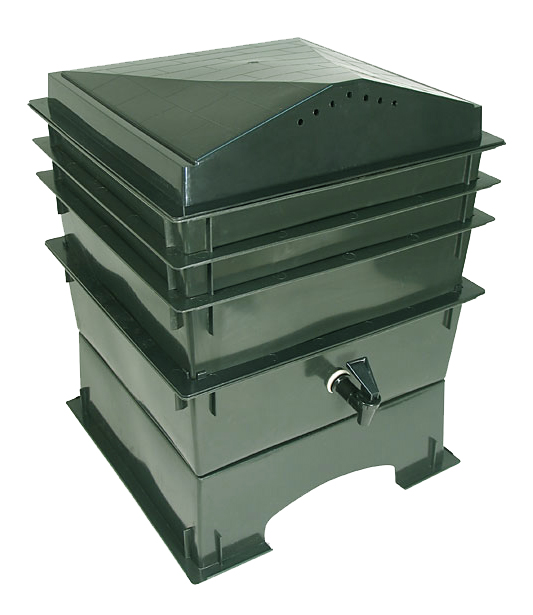
#5: Vermicomposting
Materials: Worm composting bag or stacked worm bin method (DIY worm bins can also be created utilizing a storage bin)
Price Range: $50-150; DIY: $15-30
Size: Vermicomposter sizes range; Standard length = 8-15in, Standard width = 8-15in, Standard height = 8-25in
Space Required: About 1 cubic foot of space is recommended
How it Works: Place the worm bin or bag in a dry, shaded area outside or indoors. Inside the bin or bag, create a layer of worm bedding utilizing browns, such as: leaves, cardboard, shredded paper, egg cartons, and straw. Next, add a layer of garden soil and enough water for it to be the consistency of a wet sponge or dish towel. Add your worms. Wait a day for the worms to adjust to the environment before placing greens into the bag or bin. Cover the top of the bag or bin with the provided covering. Check soil moisturize weekly. Compost should be ready in 12-24 weeks.
Pros: Protected/contained in a sealed container; no turning required; time-saver; easy to access; simple design; interactive classroom/child-teaching learning tool; fits most spaces; great for any woodlot or non-woodlot owners, especially great for those with apartments/townhouses/condos who have limited space
Cons: Vermicomposters can run on the expensive-side, with the cheapest method being a DIY storage bin; may produce odor, especially if the compost is not well-balanced or if there’s a large volume of rotting food waste (to avoid this, it is best to shred/cut the scraps that are going into the bin and check that the soil isn’t oversaturated)
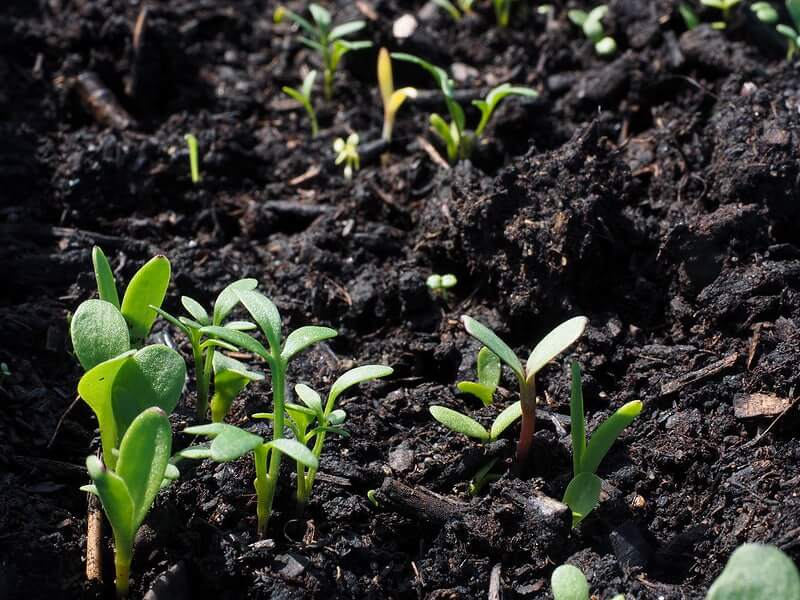
#6: Direct Burying
Materials: None (just browns/greens and the ground)
Price Range: $0
Size: Highly variable (from flower beds to harvest fields)
Space Required: Recommended at least 3 x 3 x 3ft; however, space is variable
How it Works: Designate a starting spot on your property/woodlot to bury greens, preferably a garden bed (these spots will need to be rotated to avoid overwhelming the soil). Dig a channel with a depth of 8-15 inches, so enough soil can be spread over the top to plant plants. Spread greens into channel depth and re-cover with soil. Greens will take about 1-3 months to break down by microorganisms and earthworms.
Pros: No cost; no containers needed; time-saver; directly adds nutrients to soil; works great for woodlot owners with large acreage and/or those with an abundance of garden or harvesting space
Cons: Small critters could dig up scraps; may produce odor, but if buried far enough, odor is likely to decrease significantly/not be an issue; requires an abundance of woodlot space
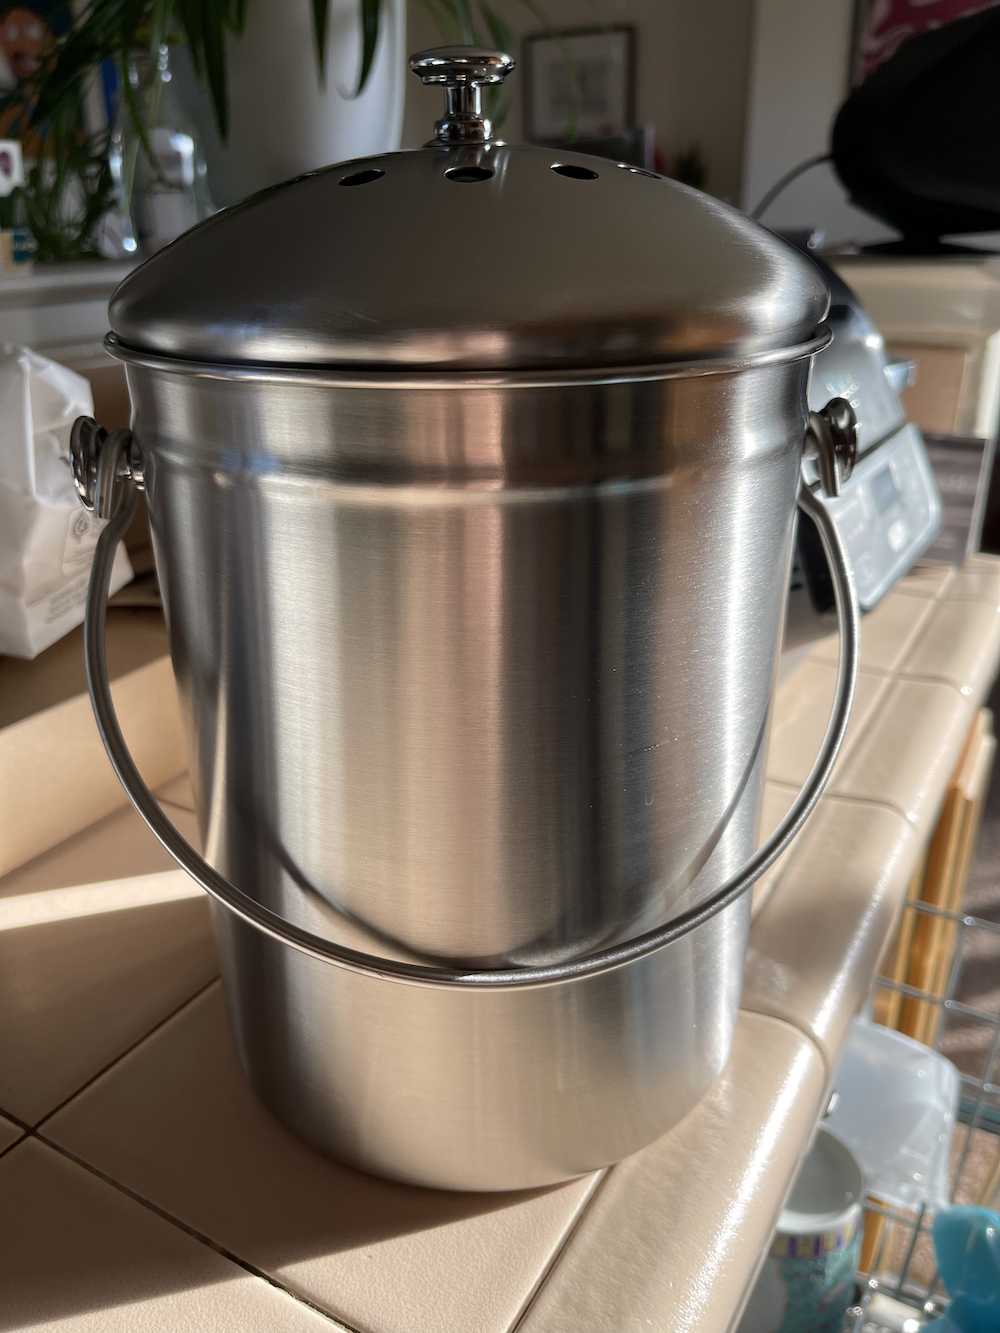
#7: Apartment Counter Composting Containers: Chef’n EcoCrock & EPICA Stainless Steel Compost Bin
Materials: Chef’n EcoCrock or EPICA Stainless Steel Compost Bin
Price Range: $20-40
Size: 0.7 - 1.5 gallons; Standard length: 7-12in; Standard width 6-8in; Standard height 8-12in
Space Required: The length, width, and height of the bin; Can fit on-top of most countertop spaces
Pros: Protected/contained in a sealed, odor-free container; fits into small spaces and can sit on the counter-top; timer-saver; easy to access; keeps greens concealed until ready to be discarded into compost bin; great for apartment/townhouse/condo renters
Cons: Containers can run on the expensive side, with the cheapest being $20 and most expensive being $50; stores small amount of greens compared to the 5-gallon bucket and other methods; the bin is not a composting bin, it is only for storing greens until scraps are brought to a compost bin or program
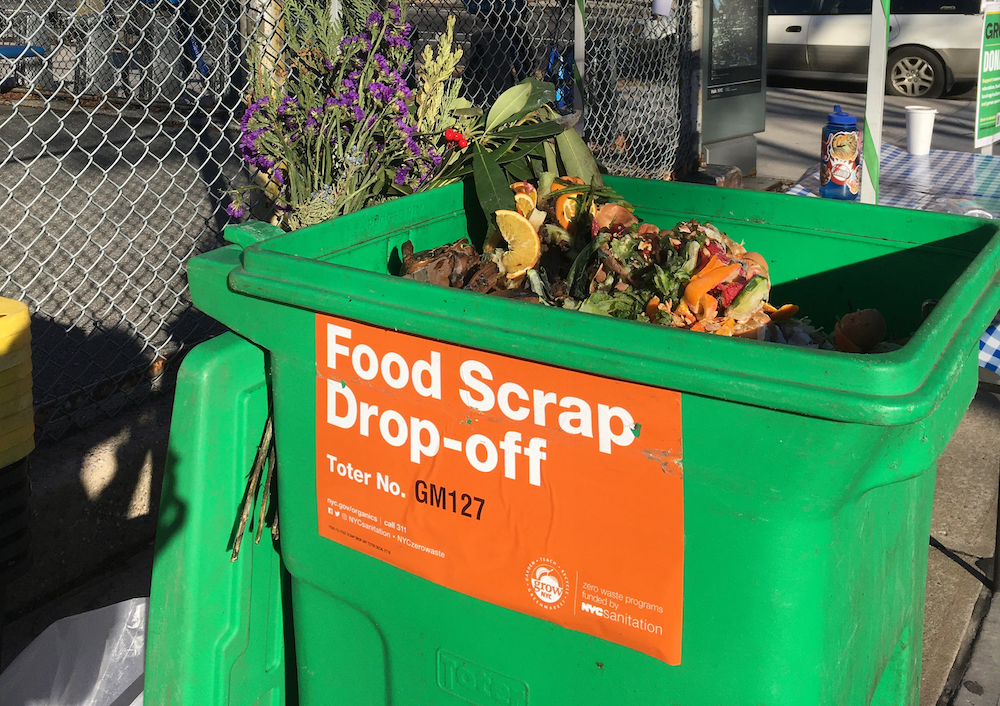
#8: NY Community Composting Programs
Materials: A container to store your greens (sealed bucket, large sealed bowl, sealed coffee container, counter composting container)
Price Range: Generally there is no cost; some programs may require the purchase of a program-sponsored bin; some programs may require registration; some programs may charge a fee
How it Works: Many county programs, NYC programs, & community-center gardens, provide food scrap drop-off sites, where residents can drop their food waste off on certain day(s) of the week and at certain locations. Some municipalities may offer curbside compost pick-up. Check your local and state-wide municipality websites, contact local garden clubs/centers, and/or call your municipality center to ask about curbside composting or local programs.
Pros: Usually a free program; does not require one to have an at-home composting method; time-saver; accessible to woodlot and non-woodlot owners; community-oriented
Cons: Some programs may require a fee or program-sponsored container; drop-off sites may require transportation to reach; not available everywhere
The composting methodology seed we planted in Part 1 and nourished in Part 2, has fully bloomed as you are now enriched with the understanding of 8 different potential methods of composting. These methods are applicable in woodlot and non-woodlot spaces for a variety of budget-types and time commitment abilities.
If you decide to give one of these methods a try, the MyWoodlot team would love to see your composting system in action! Please send any photos and captions about your experience to our team members in our “Contact Us” section.
Please share our post!
Now, go make the most of your compost!


